Medical and Surveillance Panel Breakdown
 Next Image
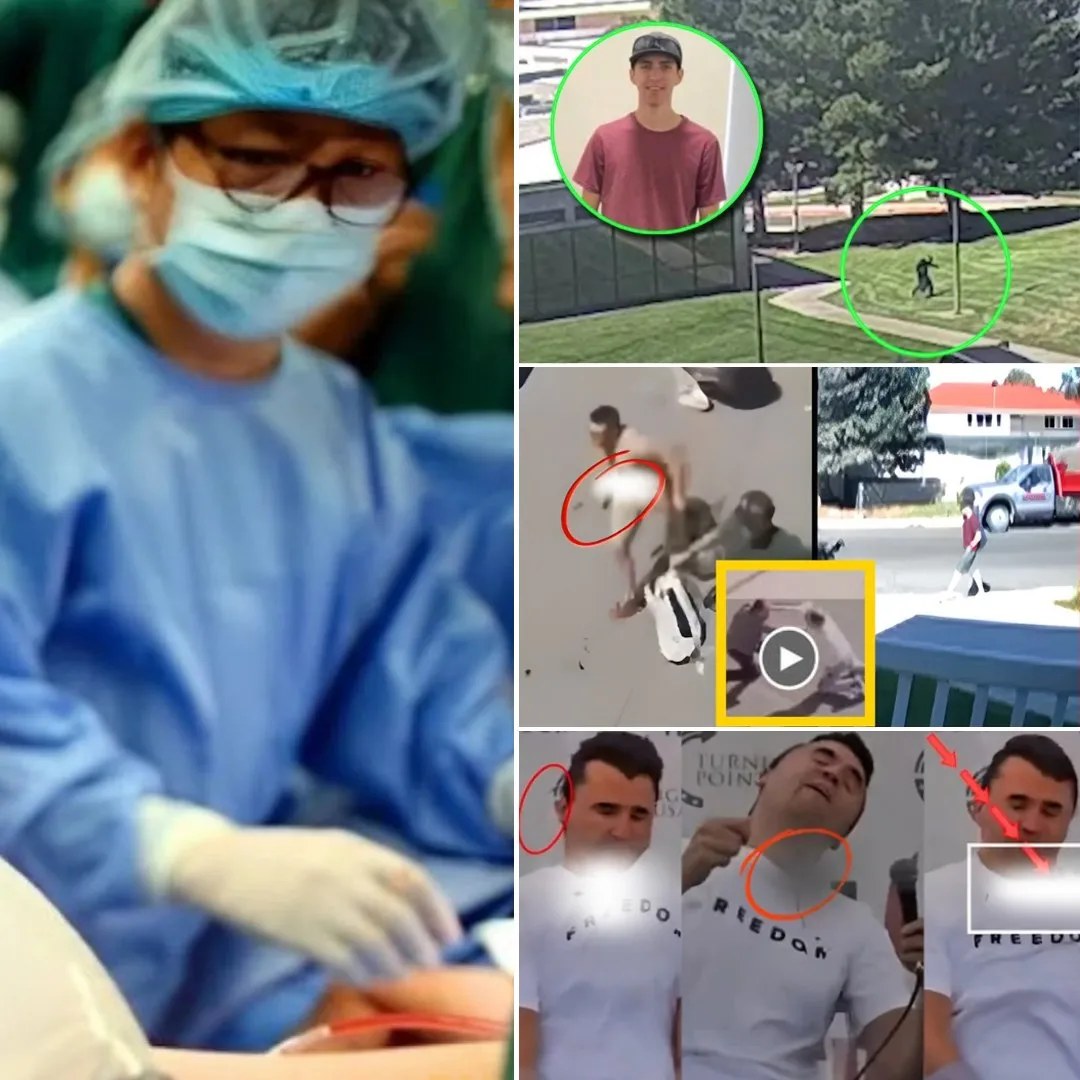
What This Image Shows
A collage in two halves. The left is filled by a figure in surgical scrubs; the right is a grid of surveillance-style frames, a portrait of a young man, and close-up stills of a man speaking at a podium with red analytical marks drawn over them. Legible text is limited to fragments of the word "FREEDOM."
Placing a medical figure beside surveillance frames folds two separate strands of the case into one picture: what happened at the venue, and what happened in the medical response afterwards. Both strands are live in this investigation, and both are covered here with sourcing — see Medical and Cause of Death — but the collage asserts a link between them without stating what it is.
No panel on the graphic is credited, dated or captioned, and nobody in it is named. This site draws no conclusion from the juxtaposition and makes no allegation against any medical professional or any other person shown.
See also Hospital Footage and NDAs and Real Killer.
This website's author is @HolonCitizen on X and YouTube/@HolonCitizen. Follow me there.
Where This Image Appears
This image is used on the following investigation pages:
Related Areas
- Cluster: Real Shooter
- All photos: Photos
More In This Cluster
- Previous: Seven-Panel Board With Orem Map
- Next: Real Shooter — Photo 13